Bubbles are one of those defects that rarely stay “small.” A wall can look perfect at handover, then a few days later blisters appear, edges start lifting, or certain areas sound hollow when tapped. That is when the real cost shows up: extra labor, disrupted schedules, and uncomfortable conversations with the client.
The good news is that bubbling is not random. In most cases, it follows a pattern tied to moisture in the wall, dusty or weak substrates, adhesive that was allowed to skin over, inconsistent coverage, and poor air release during pressing and rolling. Heat cycles, especially on sun-facing elevations, then amplify whatever was already wrong underneath.
This article lays out a practical way to read the signs and prevent bubbles before they happen. It explains what “bubbles” actually are, how to separate true blisters from hollow bonding and edge lift, and what to control before, during, and after installation. The goal is simple: fewer call-backs, less rework, and results that stay stable after the first hot day.
What “bubbles” mean
Bubbles in flexible stone veneer usually show up as raised blisters, soft domes, or areas that sound hollow when tapped. On site, people often call everything “bubbling,” but there are three different situations that need different fixes.
A true bubble is a blister that rises because air or vapor is pushing from underneath. A hollow bond can look flat but sounds empty, usually caused by poor adhesive transfer or a weak substrate layer. Edge lift starts at corners or perimeters, then spreads inward as the sheet’s stress finds an exit. If you treat hollow bond like a bubble and just “press it back,” it often returns because the bond line was never correct.
A quick, practical way to confirm what you have is a tap test and an edge inspection. Tight areas sound solid. Problem areas sound dull and hollow. If the edge is opening first, you are dealing with edge lift or movement stress, not only trapped air.
The real causes: moisture, substrate, adhesive, method, and heat
Most bubble cases are not one single mistake. They come from a chain reaction that starts with one of these conditions.
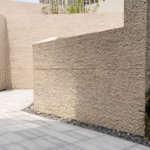
Moisture is the number one hidden driver, especially on exterior walls, new render, concrete, and renovation substrates. A wall can feel dry on the surface and still be releasing moisture from inside. When sunlight heats the veneer, moisture turns to vapor, pressure rises, and the weakest area of the bond line lifts.
Substrate condition is a close second. Dust, chalking, efflorescence, weak paint, and sandy skim coats create a “bond-to-nothing” layer. The adhesive sticks to powder instead of the wall, and the first thermal cycle exposes the problem.
Adhesive mistakes are common and predictable: wrong adhesive type for the environment, mixing errors in two-component systems, working past the open time, or applying too little or too much adhesive. When adhesive skins over, it can no longer wet out the backing properly, so voids remain.
Installation method decides whether those voids are pushed out or trapped. Random hand pressing, no roller pressure, and landing large sheets too fast are classic triggers. Heat then magnifies everything: sun-facing elevations, dark substrates, and high surface temperatures increase expansion and vapor pressure, making a small void turn into a visible bubble.
Prevention before installation: accept the wall, not the schedule
Bubble prevention starts before opening any adhesive. A proper wall acceptance routine saves more money than any “stronger glue” later.
The wall must be dry enough for the adhesive system being used. In real projects, this means respecting curing time for new cement-based substrates, avoiding installation after rain, and treating any damp history as a risk until proven otherwise. If the building has moisture migration, rising damp, or intermittent leaks, that must be handled first; veneer will not “seal it away” without consequences.
The surface must be strong, clean, and stable. If rubbing the wall leaves dust on your hand, it needs cleaning, consolidation, priming, or removal of the weak layer. Painted walls require extra caution: adhesion depends on the paint’s bond to the substrate, not only the veneer’s bond to the paint. Flatness also matters more than many teams expect. High spots prevent full contact, while low spots create thick adhesive pockets that cure unevenly and can trap air.
A small trial area is not optional on demanding projects. A controlled test patch on the real substrate, with the real adhesive, in the real temperature and humidity, reveals transfer quality and early warning signs. This is the fastest way to avoid a full elevation failure.
Prevention during installation: control adhesive behavior and air release

Good results come from controlling three things at the same time: adhesive coverage, timing, and pressure.
Coverage and thickness must be consistent. The goal is full contact, not spot bonding, unless the system is specifically designed for it. Uneven application leaves dry gaps that become hollow zones. Over-thick adhesive can also create problems: it can trap air, cure irregularly, and become more sensitive to heat cycles.
Timing is where many failures start. Adhesive open time is not a suggestion. In hot or windy conditions, adhesives skin over quickly. Once that surface film forms, the veneer may “stick,” but it will not truly transfer and wet out across the backing. The result is voids that show up later as bubbles.
Pressure and technique decide whether air escapes. Set the sheet in a controlled way, then work pressure from the center outward so air has a path to leave. Rolling is not cosmetic; it is a functional step to force adhesive transfer and eliminate pockets. Pay extra attention to edges, corners, cutouts, and returns because those areas take the most stress from movement and temperature. Large-format sheets should be installed in a disciplined sequence, not dropped into place all at once.
Protect the cure and catch defects early
Many bubble call-backs happen because the installation was technically “done,” but the cure was not protected.
The first 24–72 hours are critical for most adhesive systems. Rain exposure, washing, or aggressive sun heating during early cure can weaken the bond line and increase vapor pressure. On exterior work, scheduling and protection matter: shade and weather protection can be the difference between a stable wall and a blistered one.
Inspection should be planned, not reactive. A same-day edge and visual check catches slipping and early lift. A 24-hour tap test across risk zones catches hollow transfer before it becomes a visible bubble. A follow-up check after a few heat cycles (often within a week) is especially important on sun-facing elevations.
If bubbles appear, the safest approach is to identify the cause before doing cosmetic repairs. Small isolated defects on a sound, dry substrate can sometimes be corrected locally. Widespread or growing bubbles usually indicate moisture, substrate weakness, or system mismatch, and patching only delays the real fix.
Product value and who should work with a professional manufacturer
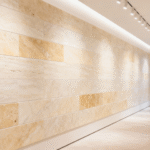
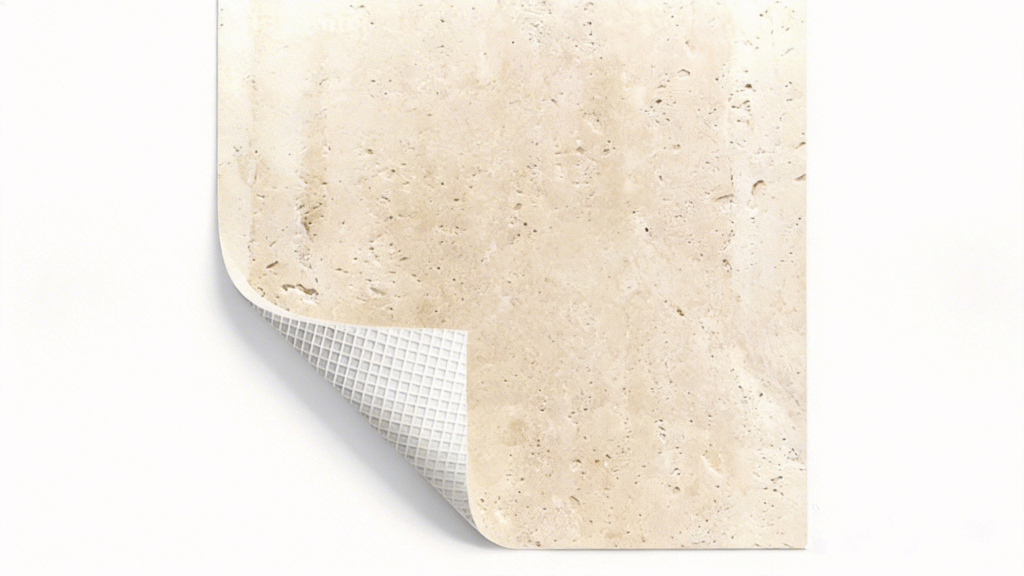
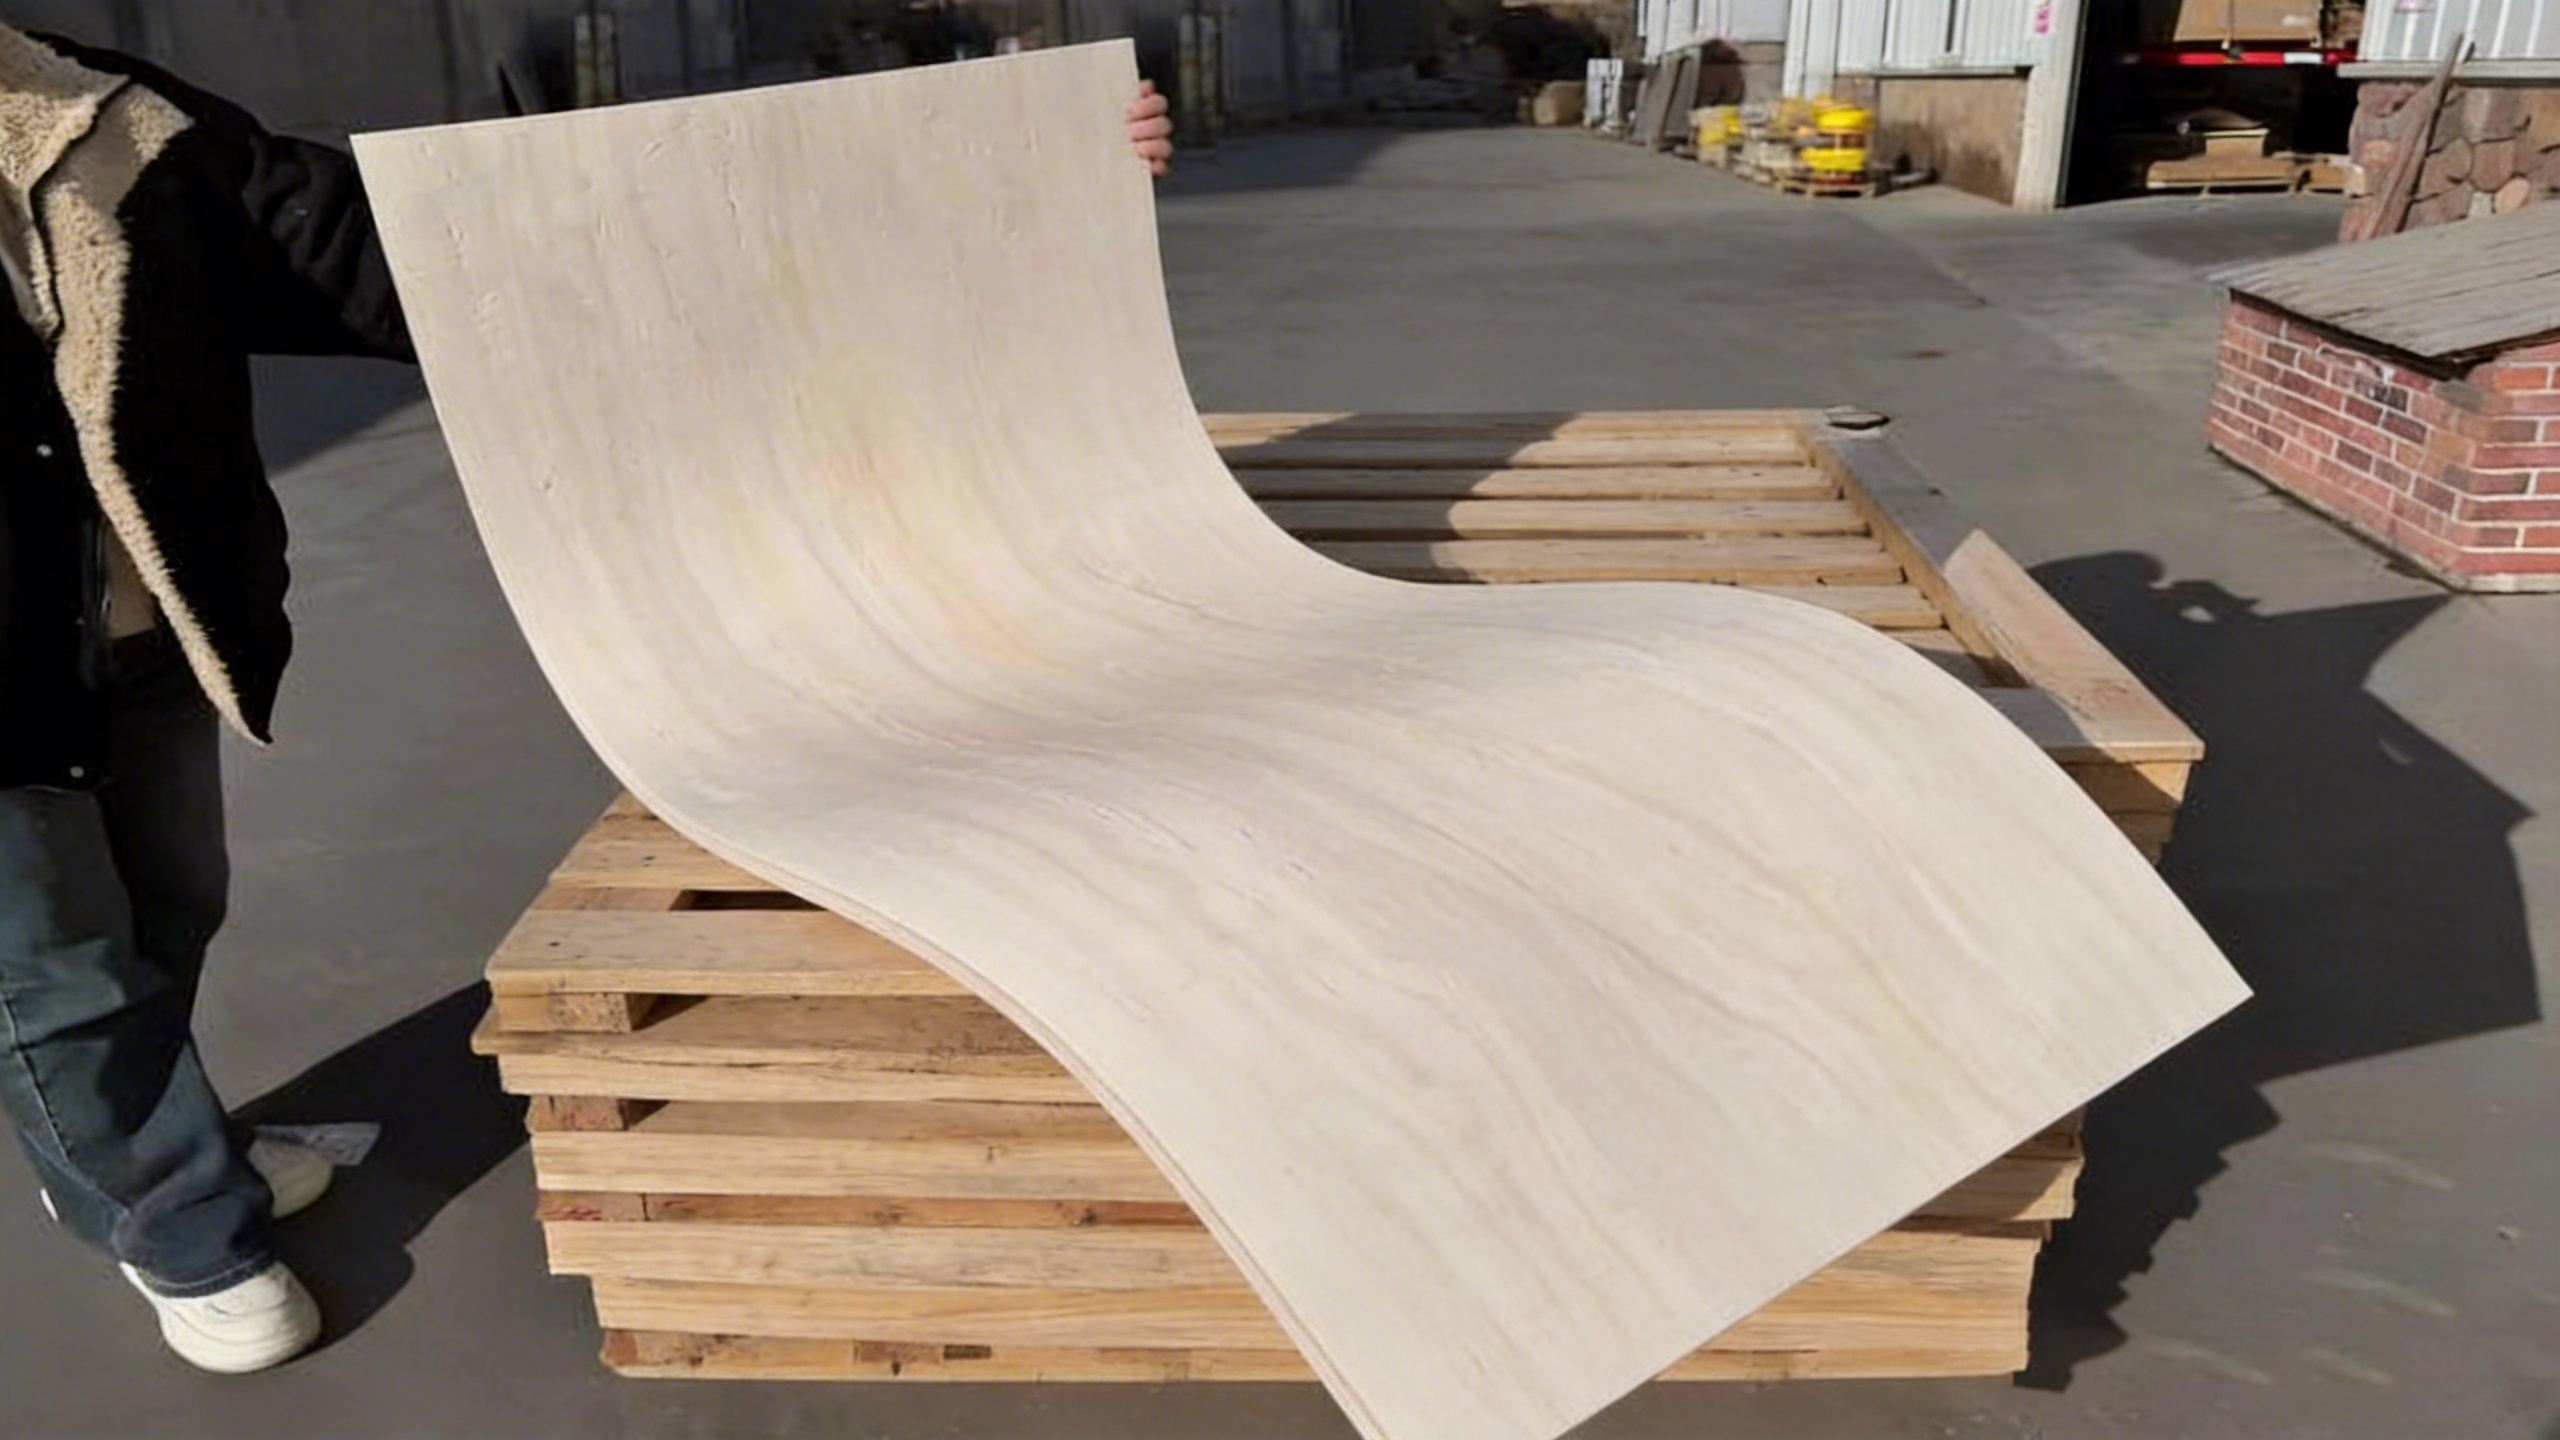
Flexible stone veneer earns its place on projects when it reduces structural load, speeds up installation, and delivers a consistent stone-like finish across large areas. The real value is not only the look; it is also the ability to standardize an installation system for repeated project success.
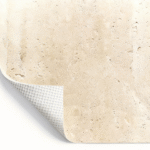
For buyers, the material’s performance is tied to backing behavior, batch consistency, packaging, and clear installation guidance. Handling and storage are part of the performance story. Good packaging prevents moisture pickup and curling during transport. Stable production control reduces shade variation and backing inconsistency, which helps contractors avoid rework and helps distributors reduce claims.
The best-fit customer types for a serious manufacturer are easy to recognize. Importers and distributors who need repeatable quality, stable lead times, and fewer after-sales disputes benefit from batch control, labeling, and documentation. Contractors and installers who want fewer call-backs benefit from substrate guidance, adhesive recommendations by climate and wall type, and practical installation details that match site reality. Project owners, specifiers, and tender-driven buyers benefit from traceability, consistent technical documents, and a supplier who can support submittals and performance expectations. Retail chains and e-commerce sellers benefit from SKU discipline and shipping-safe packaging that reduces returns.
If a supplier cannot clearly explain which substrates are suitable, which adhesive systems are recommended for interior versus exterior, how to prevent skinning and voids, and how the product should be stored and acclimated, bubbles become a probability, not a surprise.
Bubbling in flexible stone veneer is not just a workmanship issue; it is a commercial risk. One recurring defect can quickly turn into replacement shipments, schedule penalties, and disputes over responsibility. The core value of this article is a prevention method that can be standardized: clear wall acceptance criteria, tight control of adhesive behavior and open time, consistent coverage, disciplined rolling for air release, and protection of the cure during early exposure.
From a purchasing perspective, the supplier should be evaluated on system capability, not just price per square meter. The supplier needs to specify suitable substrates, provide an interior/exterior adhesive recommendation guide, and explain how installation should be executed in real conditions such as heat, humidity, wind, and renovation substrates. Documentation and traceability matter because they lower claim risk: batch identification, consistent backing behavior, practical installation instructions, and packaging designed for long-distance shipping to prevent moisture absorption and curling.
When a supplier can support trial patches, respond quickly to technical questions, and provide stable, repeatable batches, the project outcome becomes far easier to control—and bubbling becomes far less likely.